|
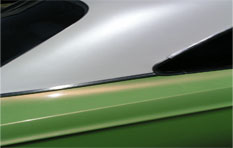
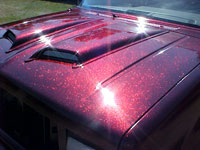
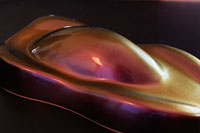
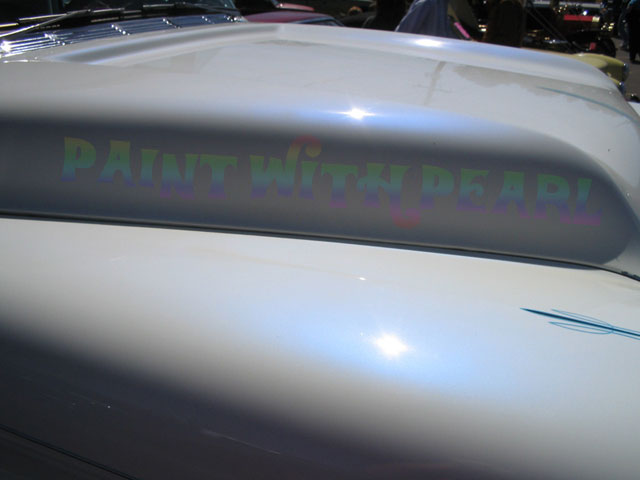
A "ghost pearl" paint job is usually done to give an existing flat color more depth and a pearlescent look. See our article descibing pearl paint for more information and tips on what colors look good together.
Assuming that you have already followed the steps in the article "How to custom paint", you must now follow the next few steps specifically designed for the application of our irridescent or "ghost" pearls.
Now that the entire surface of the project is clean and ready to paint, it is time to spray 1 tack coat of the intercoat clear, binder, color blender, or "base" clear which you have chosen. Follow the mixing instructions from your manufacturer for mixing any of your paint. After spraying 1 even coat of clear over entire project, give it time to flash dry before spraying your first pearls.
Follow your manufacturer's instructions for mixing each quart of clear base. Add a heaping teaspoon of pearl to each mixed quart. (this mixture is for a pearlescent addition to your existing color). Ghost pearl can be mixed in greater ratios to create more solid colors. Make sure to have mixing cups, strainers, and mixing sticks ready. Always strain mixed paint when adding it to your gun.
Optional: Many more experienced painters will do this step when spraying pearls. It is what we call "highlighting" your pearls. Adjust your gun to a narrow spray. Go with ONE medium wet pass over each of the edges and horizons of the project that are most likely to catch the sun's reflection when passing by the area (i.e. edge of hood to fender, edge of roof, etc.). END OF OPTIONAL STEP
Spray a total of two wet coats of pearl over entire project. Do this with a 50% overlap. Wait for flash time of your particular product between coats. After the second coat, wait for flash time and look to determine whether the amount of pearl is adequate for what you want in your pearl paint job.
If you are satisfied with the amount of pearls, after flash time has occured on the paint, use a clean or different paint gun to apply 2-3 more wet coats of TOPCOAT clear, adding NO PEARLS and following the manufacturer's instructions for mixing and spraying.
Your project is now done! It should look really nice. Follow your manufacturer's instructions for drying times on the topcoat clear.
Products, Pearls, metal flake , Uses, Tips, About Us, Shop Pearls, Shop Candies, Shop Flakes